
 Backup System
- Cloud-Bricks reserves a portion of the total system storage for the exclusive use of backup data..
- Initially this space is 20GB.
- This reserved space can not be used for any other task.
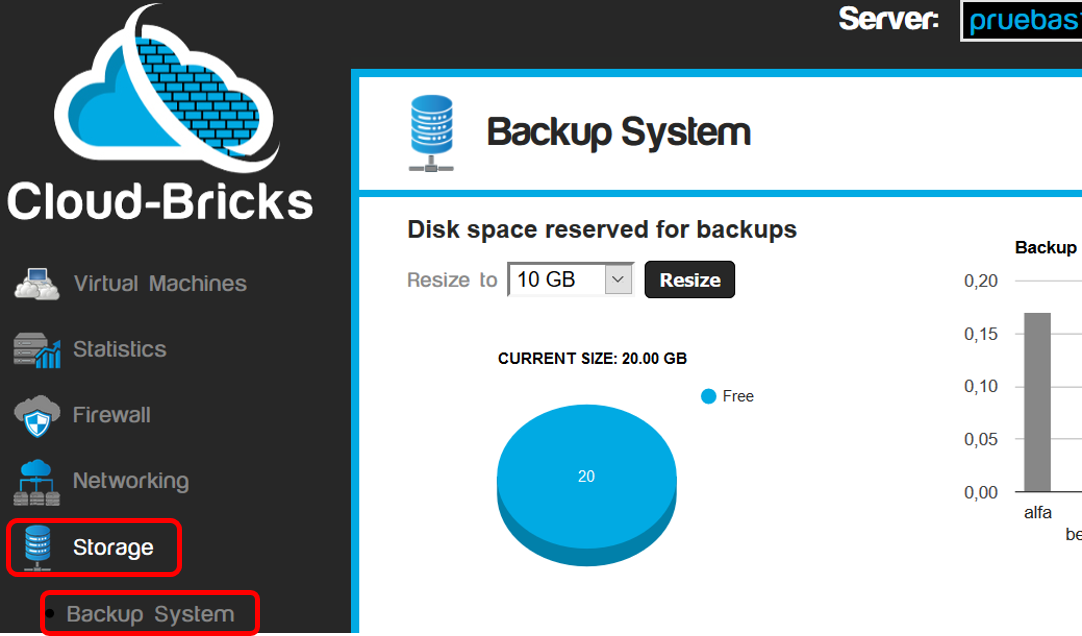
- The Backup System screen:

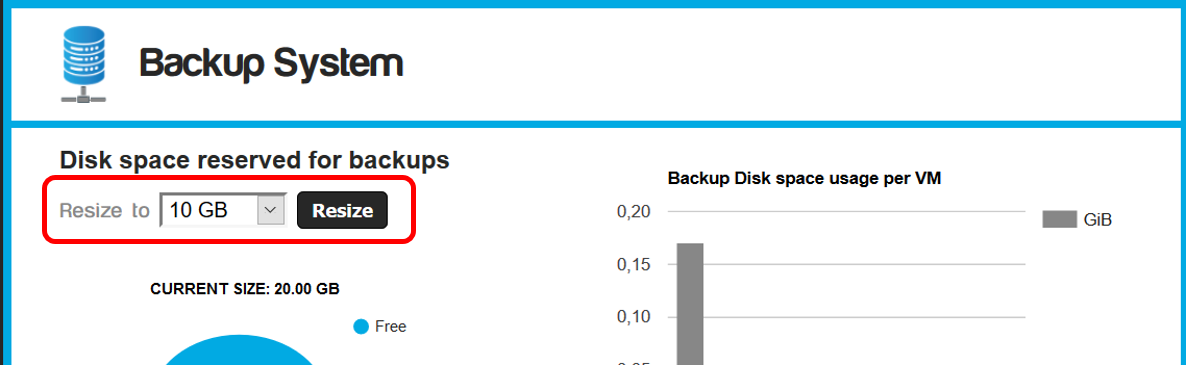
- Resize button: Will increase or decrease the storage
space reserved for backups.
- Pie chart space usage backups.
- Bar chart of backup space usage per virtual machine.
- List of available backups. From here you can download a backup
in .ISO format or mount it in the CD-ROM drive of a virtual
machine in order to to access the backup files.
- Delete selected backup button: Deletes the backups
selected in the list.
- You can filter the list of backups by different criteria.
Resize the backups area.
- The reserved storage backup space is not available for virtual
machines, so it is important to control the amount of space
dedicated to backups.
- It is the System Administrator's responsibility to reserve
enough storage space for scheduled backups.
- To resize the backup reserved space, click in the option resize and choose the new size.
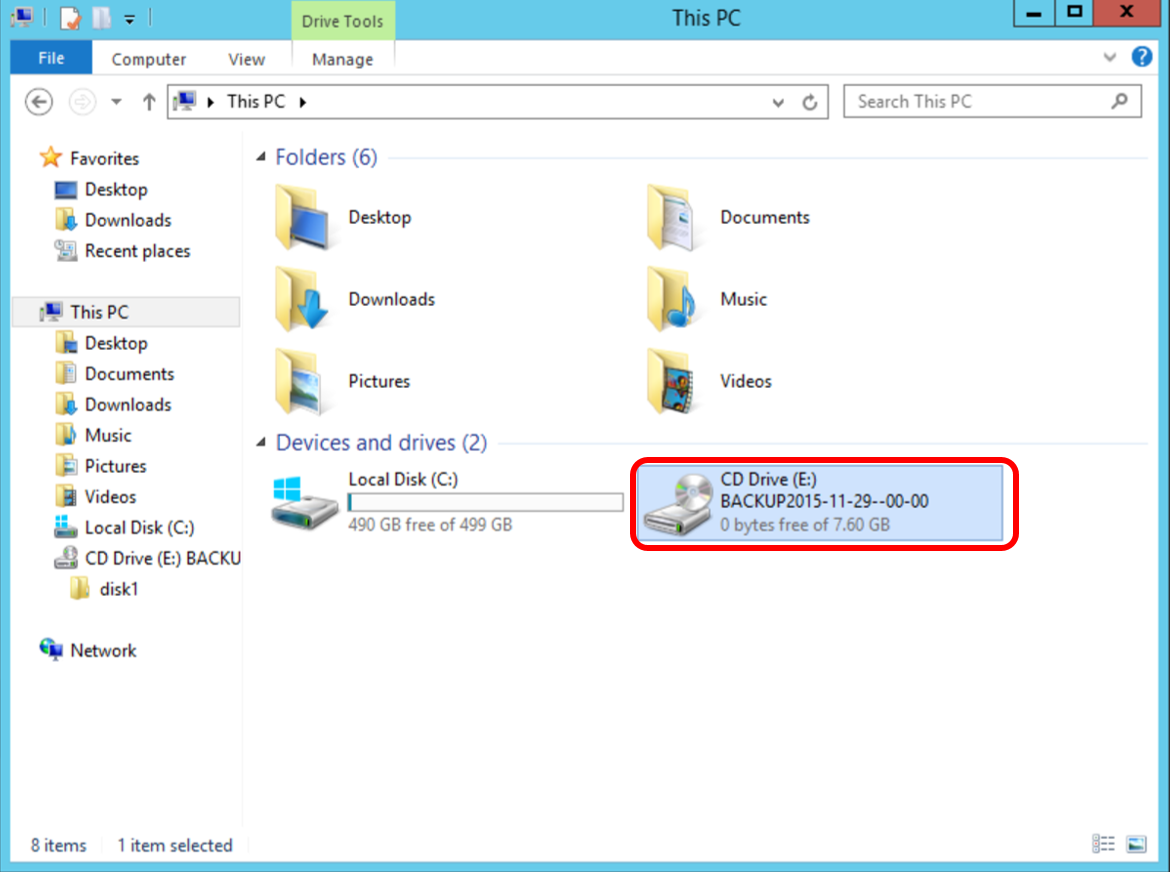
Use an available backup
The backups are stored in files with .ISO format, and are
available for download or use in a virtual machine.
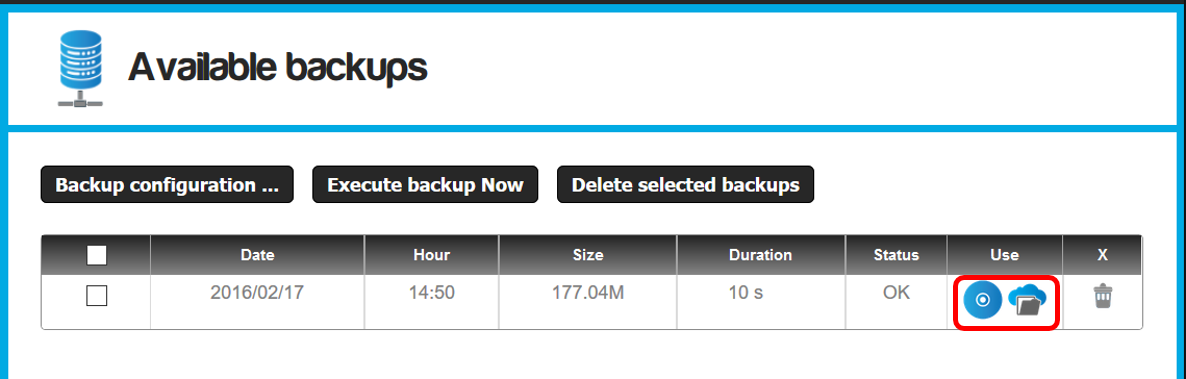
- By clicking on the blue CD icon, you can make the backup
available on any virtual machine that is turned on. This
way you can also use the backup system to quickly transfer data
between virtual machines without having to configure any file
transfer protocol.
- The backup will automatically be available in the DVD drive of
the virtual machine.
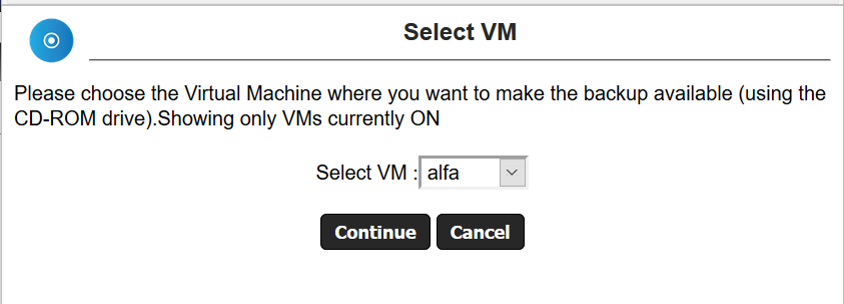
- Click on continue and enter to the virtual machine.
Download the backup as .ISO file
You can download a backup as a .iso file to your computer to
review the files in it.
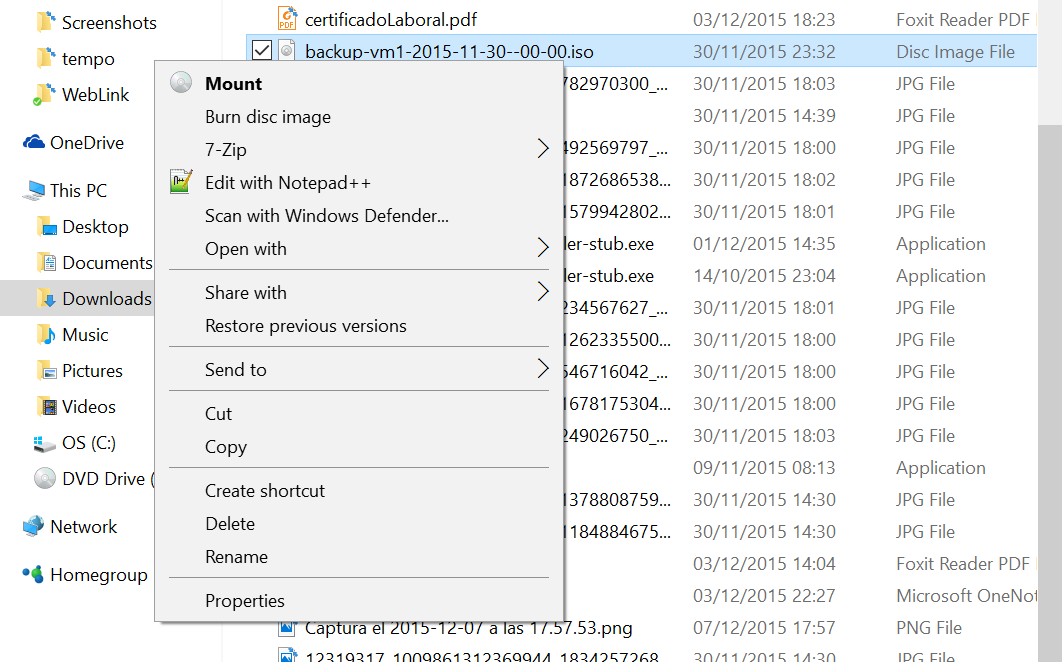
Mount .ISO on Windows
On Windows 7 and later, you only need to download the file .ISO
in any folder, right click on it and click in the Mount option.
Mount .ISO on Linux
On Linux systems, we can easily mount the DVD .ISO using the
command:
#mount -o loop backup-XXXX.iso /mnt
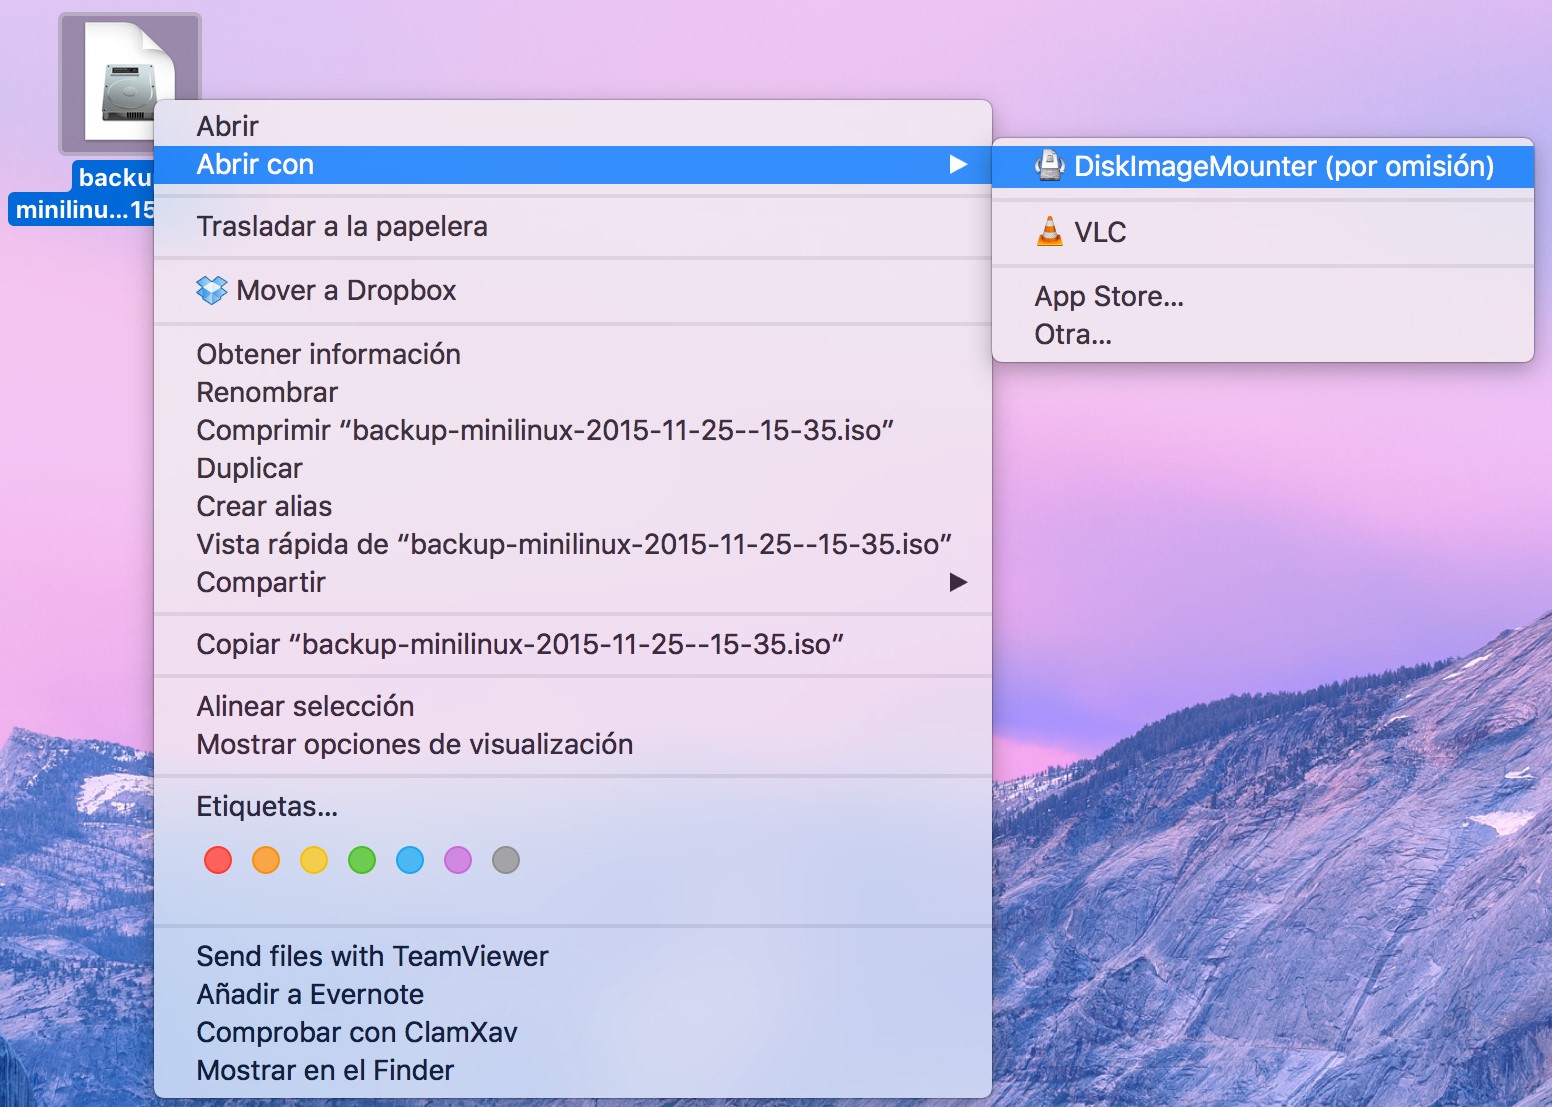
Mount .ISO on Mac
On MacOS systems simply download the .ISO file in any directory, right click on it and thenleft click
Open with> DiskManagerMounter
Running backups
The backup process can be time and resource consuming, that's why you will be able to execute only one backup process simultaneously. When scheduling backups for automatic execution, If several backup execution times overlap, an execution queue will be created and the backup process will be executed in a first-in - first-out fashion.